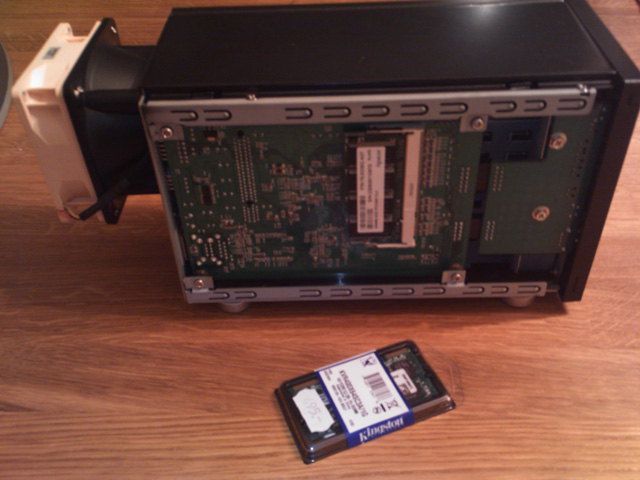
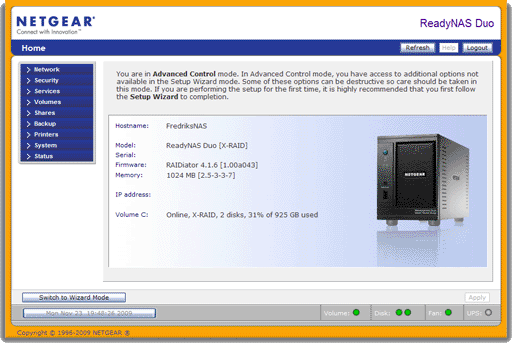
The ReadyNAS Duo ships with 256MB RAM, which is enough for the intended usage of the device (storage). For more exhaustive services such as hosting a WordPress blog, a memory upgrade is recommended. The procedures for this, including a list of compatible memory chips, is really already described elsewhere. I just thought that while you’re at it with the fan mod you might want to take the opportunity to toss in a bigger RAM. It’s really easy. And worth it.

I went with the Kingston KVR400X64SC3A/1G and have noticed a 10-15% increase in performance. The pages on my WordPress blog load faster now, and that’s the main thing I was after. As how to do it, simply remove the right side panel by removing the two screws on the rear and pulling the panel slightly backwards. You’ll see the stock 256MB RAM chip clearly on the circuit board. Release the chip from the socket and replace it with the upgrade chip. Refit the side panel and fasten it with the screws.

For extra credit, you may want to run the memory test. Twice.
Waiver. Upgrading the RAM of the ReadyNAS Duo will not void the warranty provided that you use a memory on the hardware compatibility list. The text in this summary has been prepared with uttermost care but is, despite of this, strictly a guide to be used in conjunction with normal and cautious computer practice, including the safe operation of electric equipment. I cannot accept liability for your actions. Work smart! Work safely!